How to Make Seed Tape for Your Garden with Everyday Items
- Working Time: 20 minutes
- Total Time: 20 minutes
- Skill Level: Kid-friendly
Seed tapes make it easy to plant rows of perfectly spaced seeds. Learn how to make this easy seed tape using materials you probably already have lying around the house! When you're finished making this seed tape, simply unroll into a furrow in your garden and cover with soil.
What You'll Need
Equipment / Tools
- Ruler
- Marker
Materials
- 2 tablespoons white flour
- 1 tablespoon water
- Single-ply toilet paper
- Seeds
- Toothpicks
Instructions
Make Seed Glue
Make the seed glue by mixing 2 tablespoons of white flour and 1 tablespoon of water together. Make sure the seed glue is not watery, so the seed does not absorb the water.
Related:5 Tips for Choosing the Best Seeds for Your Vegetable Garden
Fold Toilet Paper
Unroll the toilet paper to desired length. If you only have two-ply toilet paper on hand, split the two layers. Fold toilet paper in half horizontally, then unfold it to make a crease.
Measure and Mark
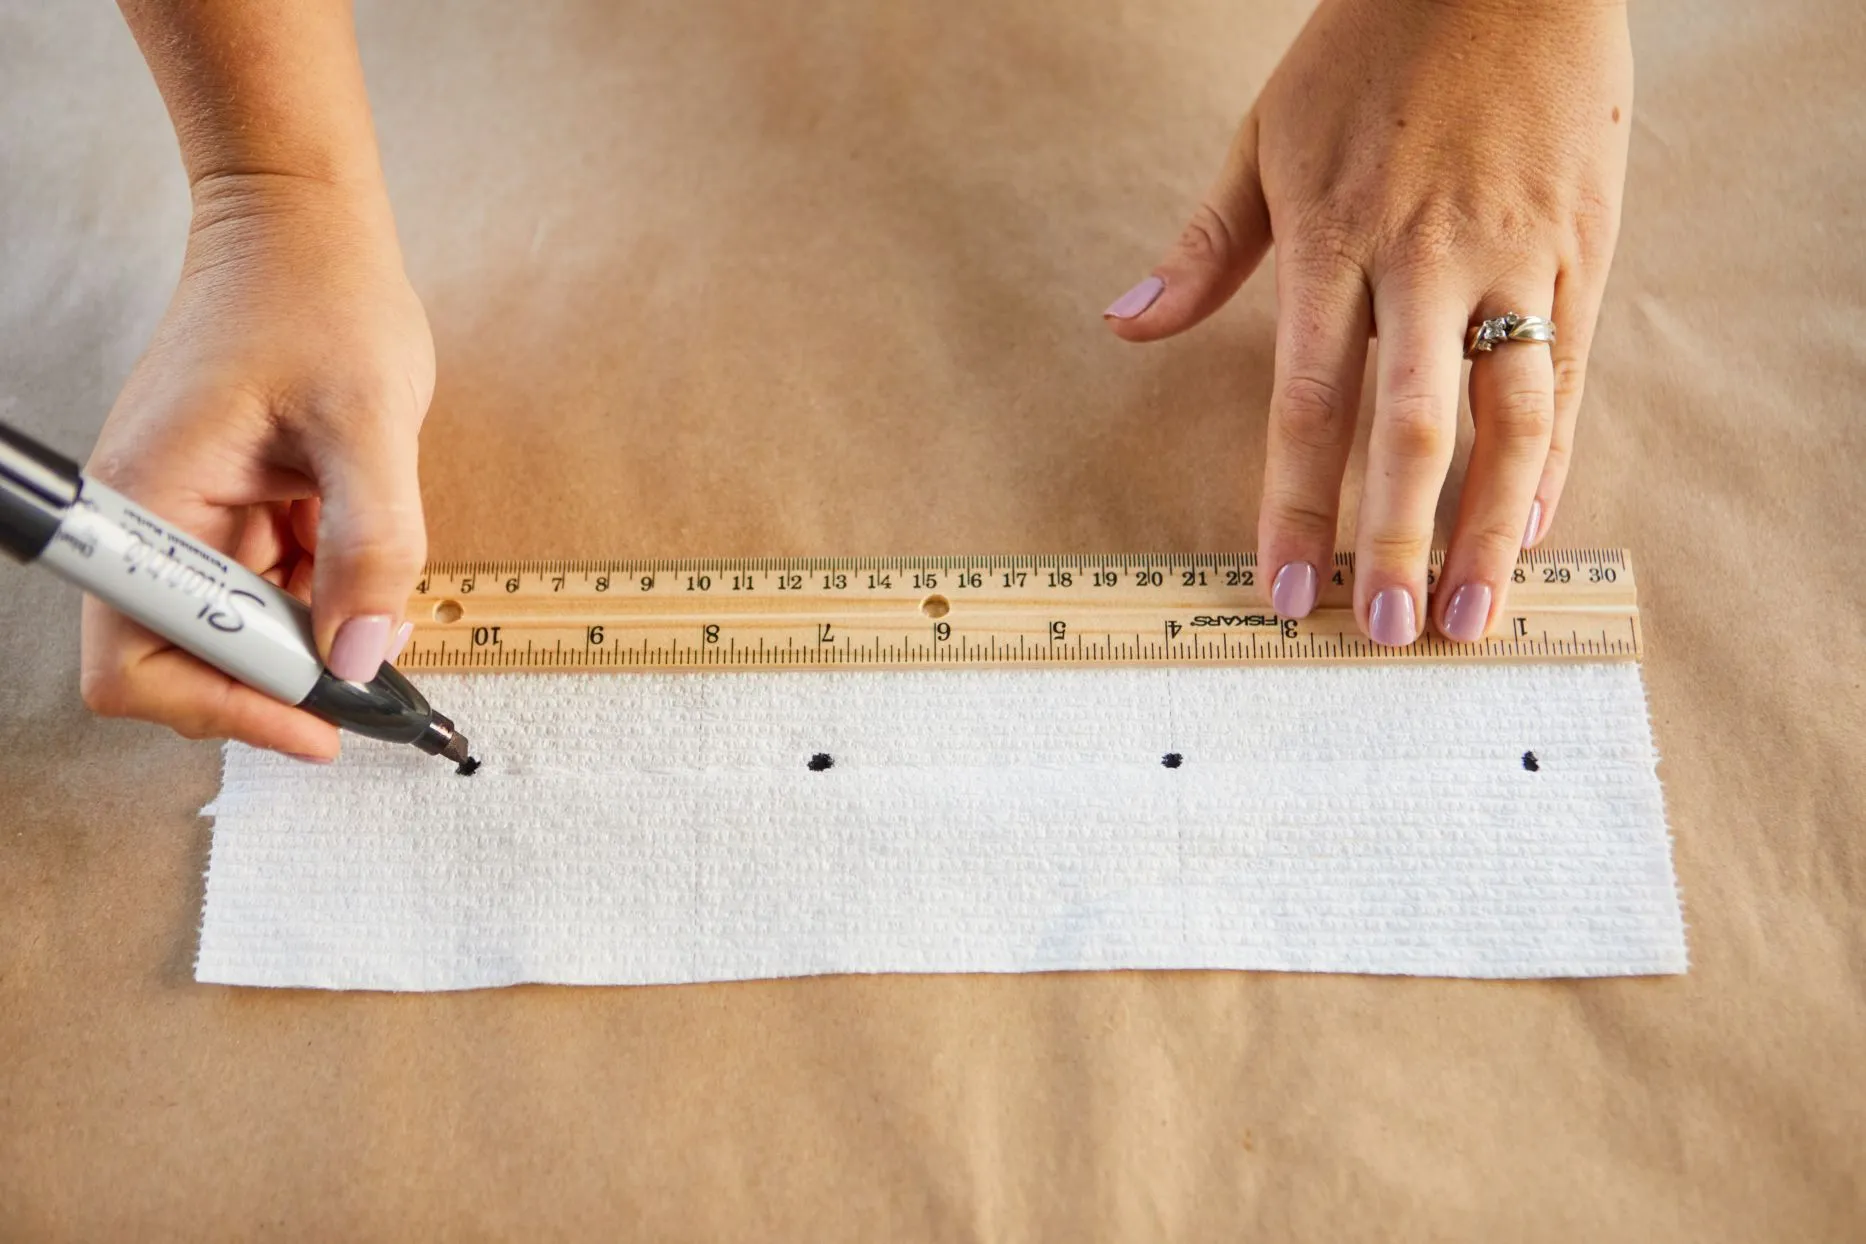
Reference your seed packet to determine how far apart your seeds need to be from one another (for example, carrots would need to be about 3 inches apart from each other). With a ruler and a marker, mark seed location within the crease on the toilet paper, starting about 1 inch from the edge.
Place Seeds
Dip toothpick into the seed glue to get a small amount on the tip. Pick up one seed with the toothpick and place onto marked dots on toilet paper.
Seal Together
After placing seeds, dot seed glue around the perimeter of the strip of toilet paper. Fold the toilet paper in half at the crease and seal the perimeter. Let strip sit for about two hours, or until glue dries. To store, roll up the seed tape and store in a cool, dry spot until you are ready to plant.